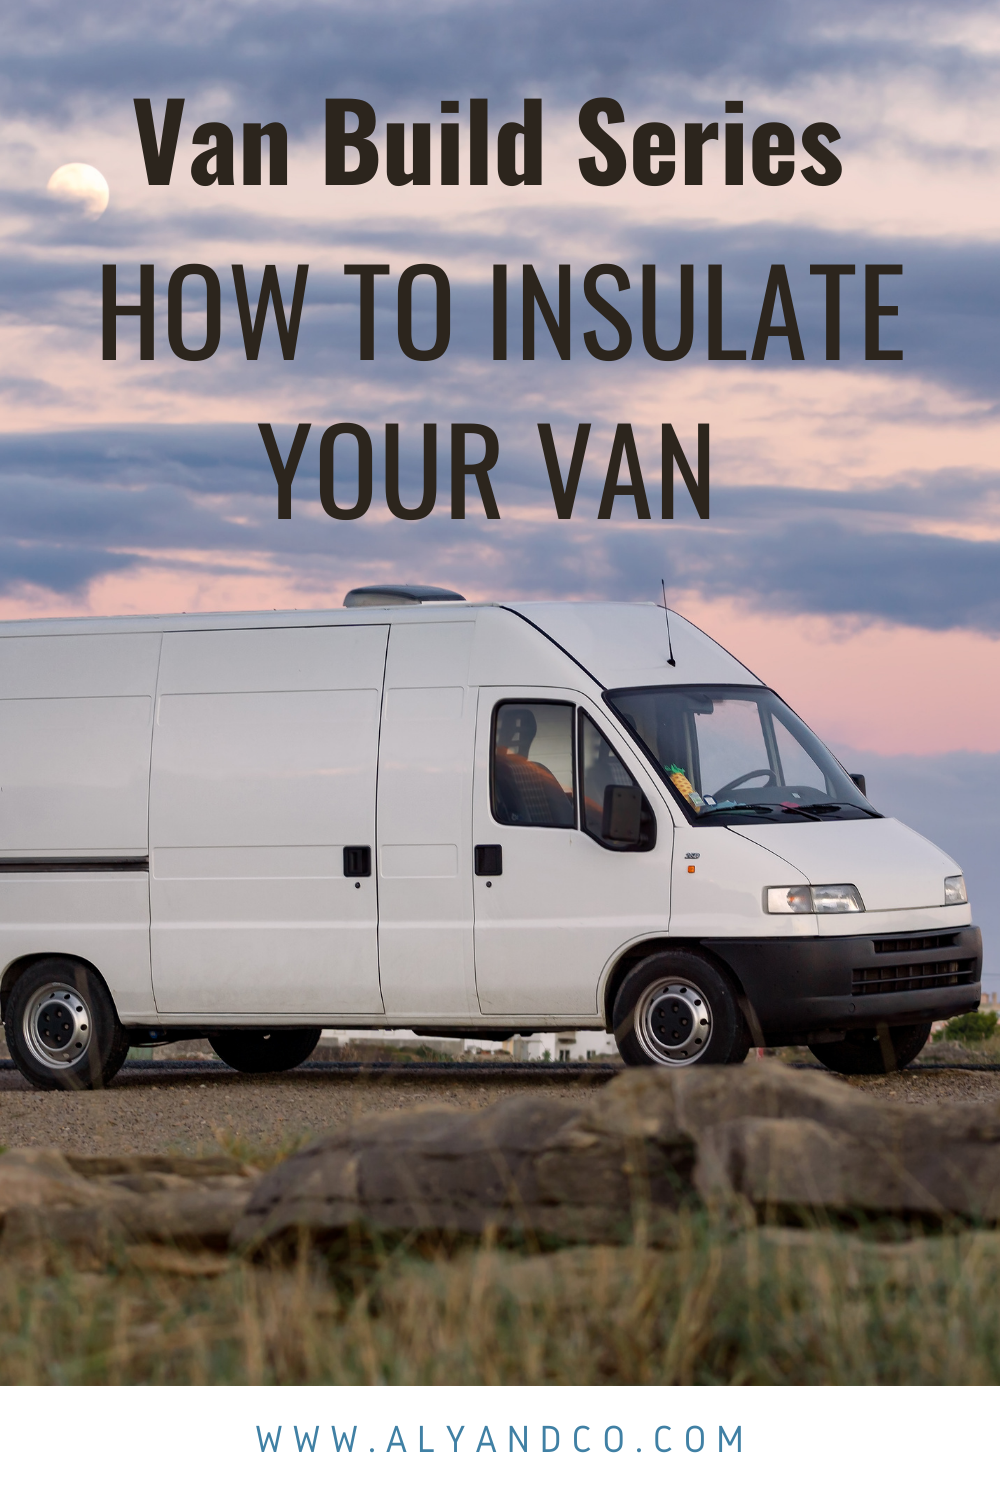
How to insulate your sprinter van

A few weeks late but I am finally sharing the first blog post in our van build series. This post will cover the prep work, sound deadening and insulation process. We have a 2019 Mercedes Sprinter Van 170.
A little bit of a backstory- we didn’t even consider purchasing a van until the whole pandemic hit but once we saw how our lives shifted and how different travel is going to be for a while, we decided to just go for it. We started researching van life videos and got really into the process. We considered paying someone to build out our van but decided we would enjoy it much more if we did it ourselves. Plus we wanted to customize it to our liking so we could really build a van that works for our family.
After a few weeks of research, we purchased our van in Northern California and had it shipped down to us. It only had a couple thousand miles on it and it was ready for a build out. Fast forward to today, we’ve now completed the entire insulation process and we are now waiting on products to arrive to continue the process. Note that due to the pandemic, many parts/services are on backorder so plan accordingly and be patient with the process.
Here is a step by step guide on how we insulated our van!
Step 1: Demo
First step is to demo the entire van. It sounds harder than it is but most of the interior actually comes off quite easy. We just used a flat head screwdriver to remove all of the interior paneling, the seats and the flooring.
Step 2: Clean Up
You want to make sure the van is nice and clean before you start working on it. We swept and vacuumed the entire van to remove all the debris and dust that built up in the back.
We also purchased EternaBond EternaClean to remove all of the tree that was on the roof of our van and used it to remove grease and grime from the interior. This step is essential for the sound deadening so it goes on smooth when placing it on the floor
Step 3: Sound Deadening
We applied sound deadening throughout the entire van. It is really up to you how much you want to apply in your van but we decided to cover the entire flooring and most part of the walls and doors. The more you put, the quieter your van will be.
We purchased 4 packs of the Kilmat sheets (each pack comes with 36 sq ft) and we applied it using a sound deadening roller. The best way to go about placing the sheets is by pressing down with your fingers (make sure you wear gloves and clothes that can get dirty) to smooth it down to the surface. Once you have it down, use the roller to apply the adhesive so it sticks. Be careful when using the roller to not tear the surface- you’ll want to put pressure, but not too much. After a few tries, you will get the hang of it.
Step 4: Insulation
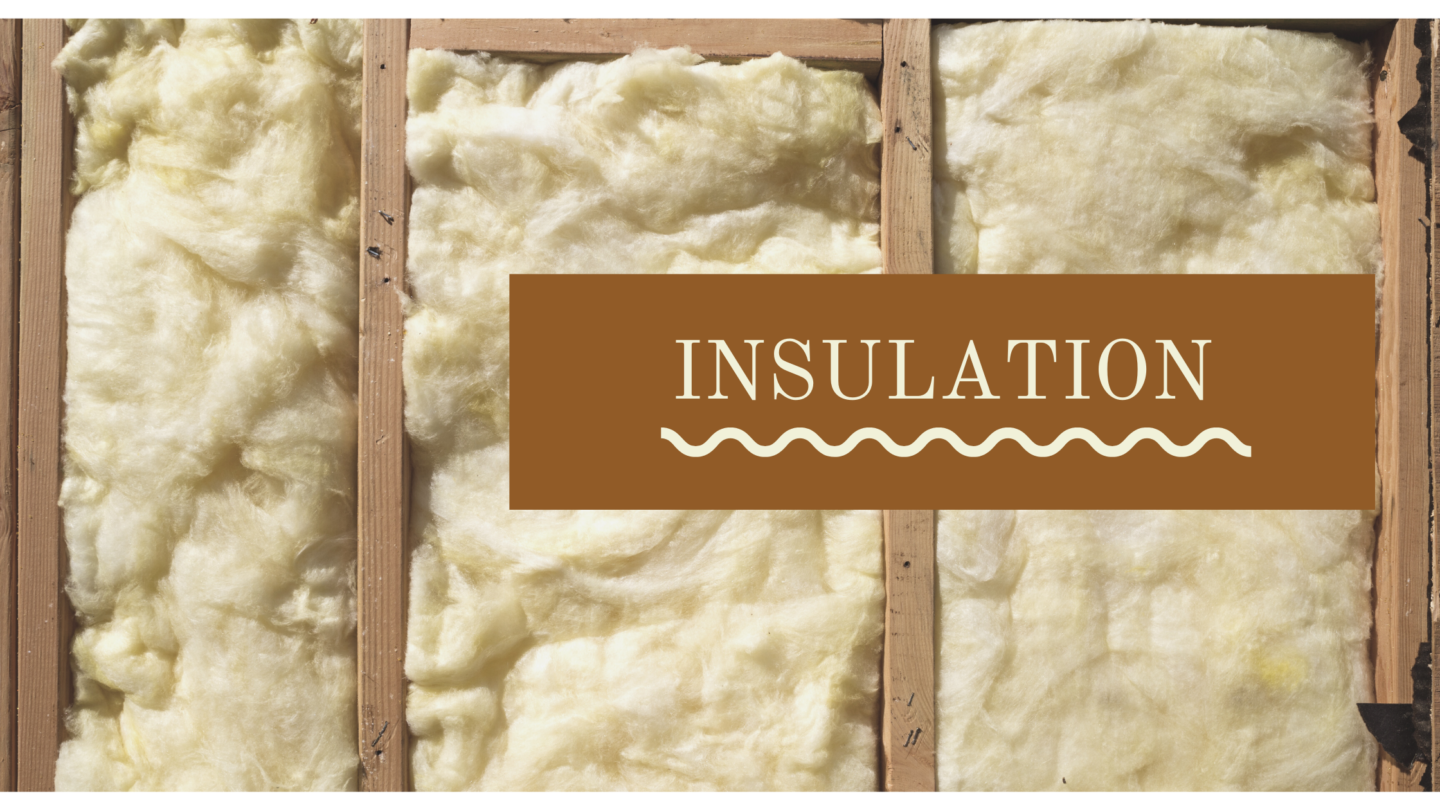
There are a lot of insulation options out there but after doing a ton of research, we decided to go with Havelock Wool. It is definitely the safest/healthiest insulation on the market, but it also the most expensive. It cost us about $900 to insulate our entire van but we feel the investment is worth the peace of mind.
Havelock filters the air and improves air quality, keeps your van cool/warm and also helps with moisture and climate control. The insulation also serves a form of sound deadening, another reason why you don’t need to go crazy on step 3.
The wool comes packed in sheets and its easy to tear and rip apart. We opened it up a few days before we started the insulation process to let the wool breathe a little. This really helped flush out the smell and it really didn’t bother me at all once we actually started using it.
We started by insulating the walls- we would tear pieces to stuff into different nooks and crannies. Note you’ll likely have cut up fingers after sticking your hands in the steel frame to ensure all the parts are insulated.
Once we covered all of the holes/hard to reach areas, we moved on to the surface areas. You can just tape down the sheets of insulation to the walls or you can use a mesh to hold all the pieces together.
After the walls are done, don’t forget about the roof. Again, use the mesh or painter’s tape to hold everything down. I also came to find that the wool had a decent amount of stretch in it and I started to tug on it before we’d put it up on the roof.
By the time you are done- your walls, roof and doors should all be insulated using the wool. This is not a step you want to go cheap on as it is a key factor in controlling the temperature inside your van when you are in hot or cold climates.
That’s it-you can now put your flooring back in the van and prep for the next step in the process. Once you have your prep work done, it is time to start looking at blueprints and floor plans to get an idea of how you want to build out your van!