This post is in paid partnership with Shea Homes; all opinions are my own
If there is one room in the house that I struggle to keep organized, it’s the kitchen. No matter how many times I try to organize and put things away, it somehow ends up a total mess.
Our first problem is that we own way more items than we need. Like do I really need 3 crock pots and my baking pans from college? I feel like it’s so easy to accumulate items like this and before you know it, you are just in way too deep. Not to mention, our house is not very big and if we really want to keep our house clean and tidy, downsizing is the first step before jumping into any of these tips.
I recently attended an event with Shea Homes San Diego that talked ALL about kitchen organization. The event is part of a new lifestyle series Shea Homes is doing and they are free and open to the public, AH-MAZ-ING right???
So before I jump into these tips, I wanted to remind you that you’ll need to let go of things you don’t use or need anymore.
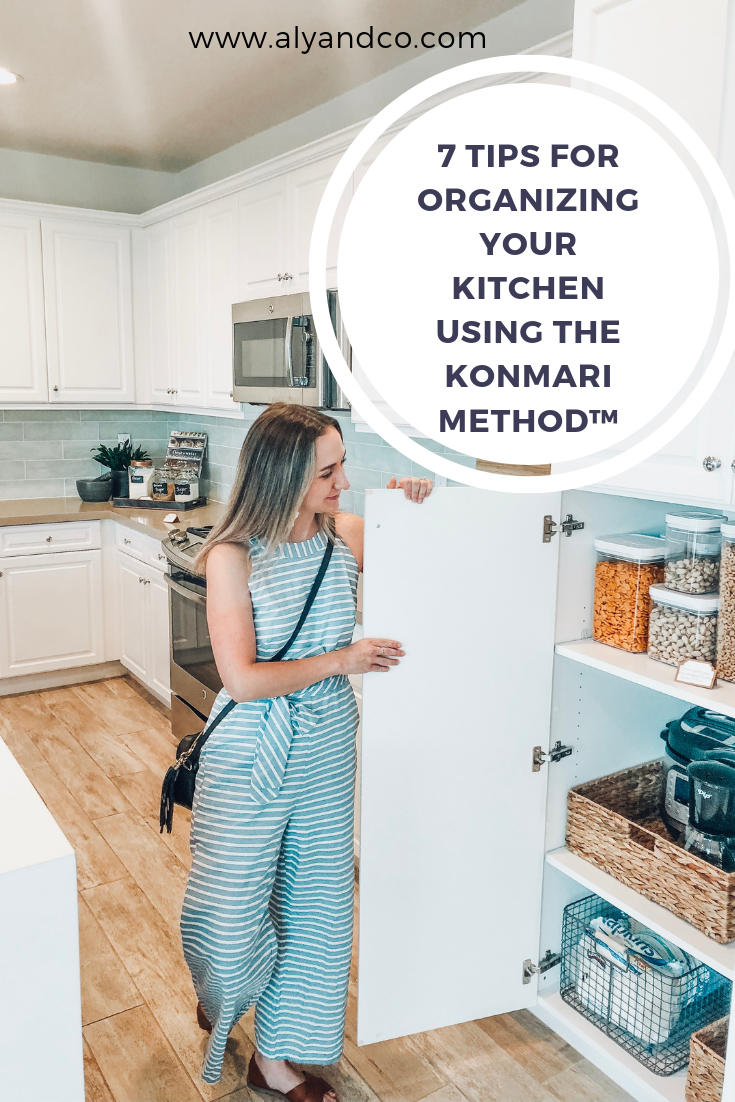
Tricia Fidler at Heywood Park Collective is a KonMari Method™ Gold Certified Consultant who helps people spark joy in their home through decluttering and organizing. She was kind enough to share these tips with all of you. She staged a Shea Homes model home in the community of Sierra at the Village of Escaya to show how your kitchen should really look!

7 Tips for organizing your kitchen
- Declutter by subcategorization. Separate items you cook with, items you prepare with, and items you serve food with.
- Keep “like with like.” Stack plates, organize your cups, pots and pans, etc. Keep it all on the counter and find an appropriate space to house each category before putting it away.
- Vertically store items. This makes them more inviting and easy to use!
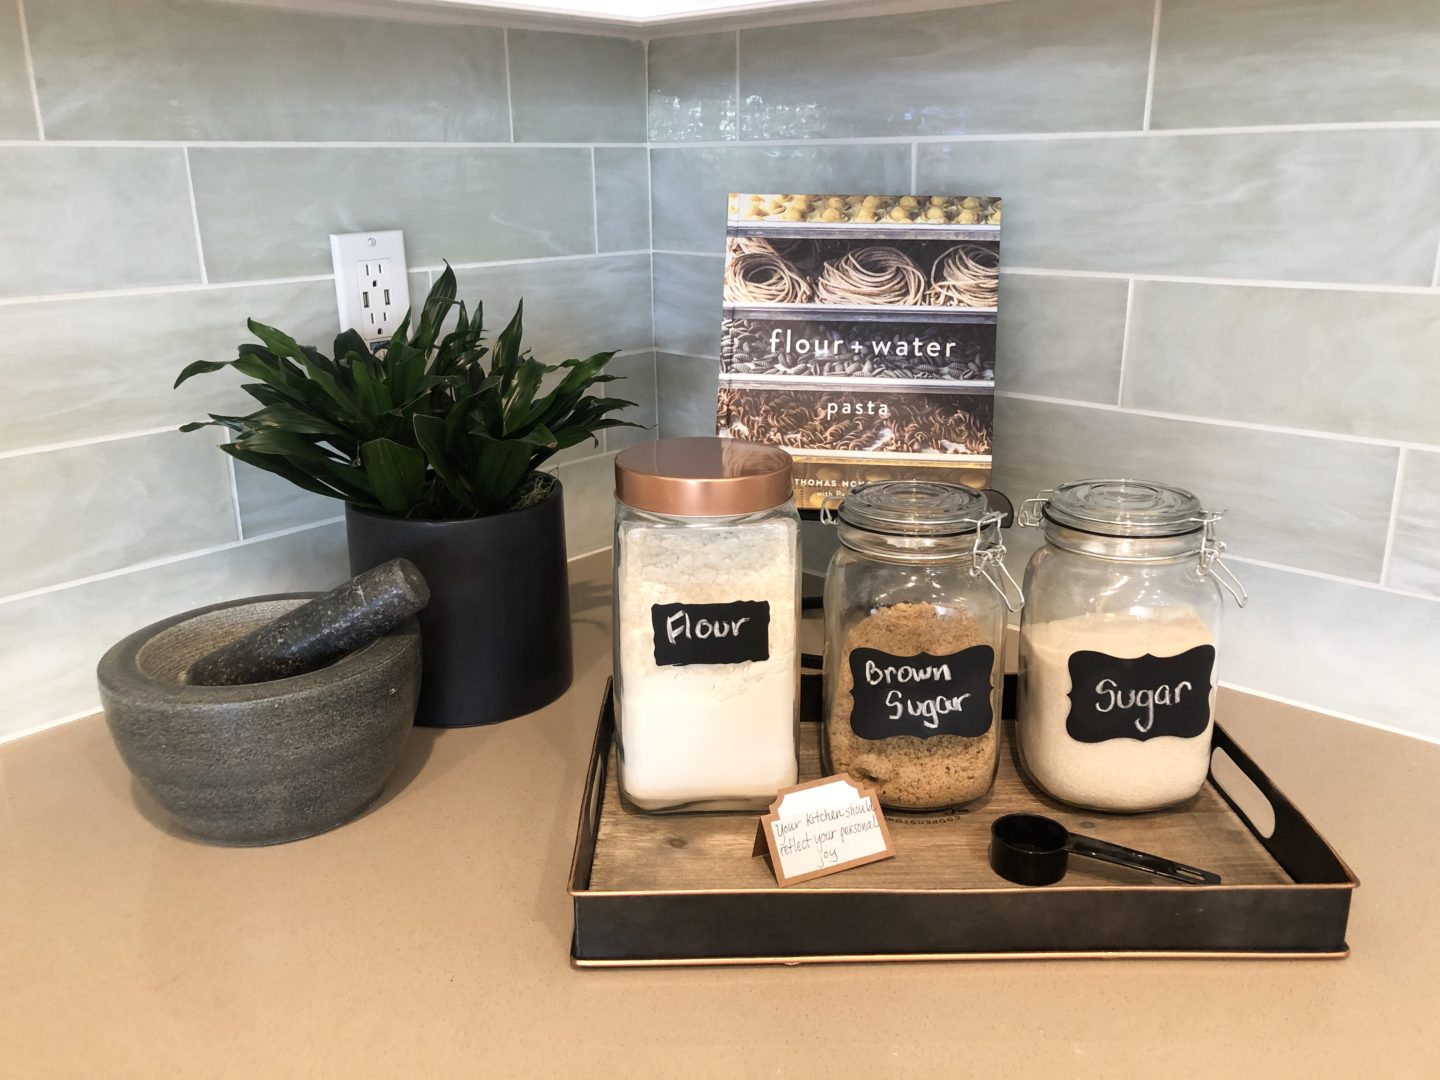
- Pantry– everyone’s biggest struggle. Shop for clear containers and canisters to hold pastas, cereals, chips, etc. The less visual noise through packages, the cleaner it will look and feel. You can also put smaller containers inside larger ones to divide up space and store upright as much as possible.
- Decant your dish soap for a clean and calming look and feel.
- Store the kitchen appliances you use most right beneath the counter you use them on. At this point you can revisit what you really need and eliminate what’s no longer useful!
- Clear all your surfaces! Tables and counters should be work spaces, not storage spaces. Ditch the storage and add decorative items that you enjoy seeing on a daily basis!

At the end of this process, you should be left with a clean kitchen that sparks joy! I’ve just started the process and have a long way to go ahead but the process has been so rejuvenating!
To keep up to date with Shea’s lifestyle series, visit the Shea website HERE.
Pin for later!